Microsoft Bot Framework – part 3
Short introduction
Microsoft Bot Framework enables developers to create intelligent applications to communicate with users. In the first part I described some key concepts connected with Bot Framework, in the second part I went through Bot source code and in this article I would like to discuss how to use Bot Emulator and how to connect Bot to different channels like Skype and how to communicate with it.
Bot Emulator

It is possible to test the Bot with Bot Emulator. You can download it from GitHub here.
Important note here - if you are using Windows and you are running the Bot Framework Emulator behind a firewall or other network boundary and want to connect to a bot that is hosted remotely, you must install and configure ngrok tunneling software. You can read how to install and configure ngrok here.
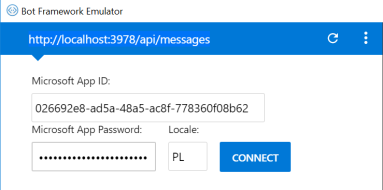
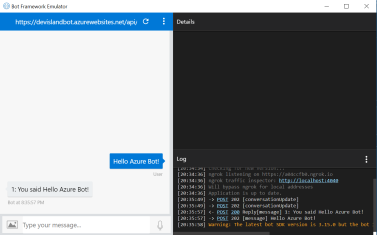
Now if you launch your Bot from Visual Studio on localhost you can connect to it and test it. Before conversation you have to authenticate with Microsoft App Id and Microsoft App Password:
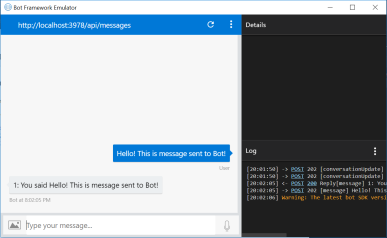
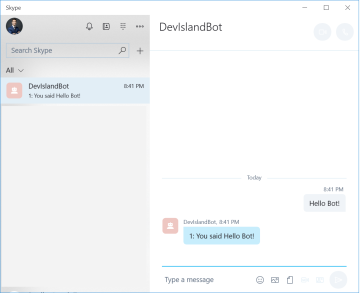
Now you can talk to your Bot. On the right side there is log displayed:
You can also publish your Bot on Azure and access it from the emulator:
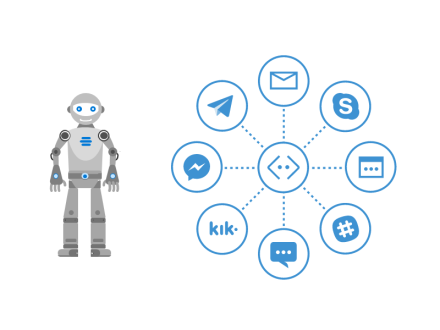
Integrate Bot with different channels
Microsoft Azure Bot Service enables possibility to integrate Bot with channels like Skype, Microsoft Teams or Slack.
Below I would like to present how to integrate Bot to Skype channel.
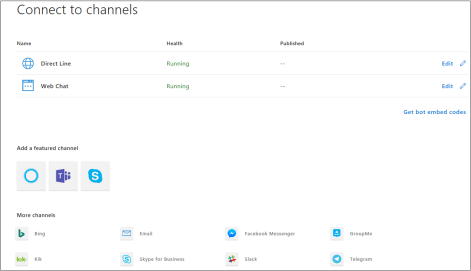
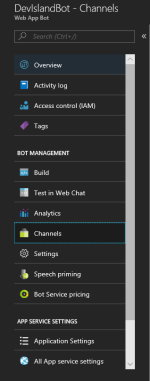
In Azure Portal after selecting Bot there is “Channels” tab available:
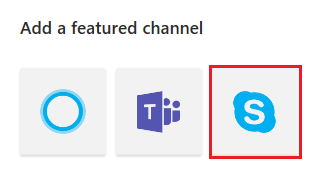
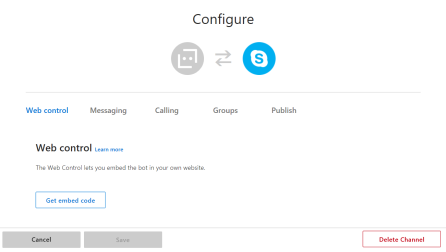
Once clicked card with possible channels to integrate is displayed. In this case I selected “Skype” channel:
There is a possibility to embed Skype control on your own website if you prefer such form of communication:
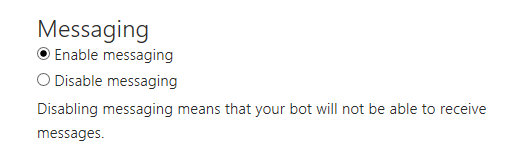
Send tab called “Messaging” presents options how you can communicate with the Bot. There are two possible options to select:
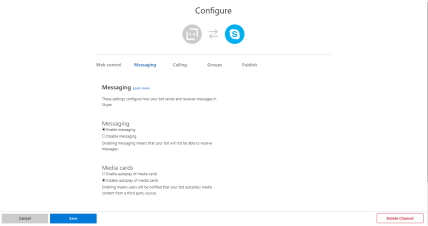
a. Messaging - standard way to send and receive messages
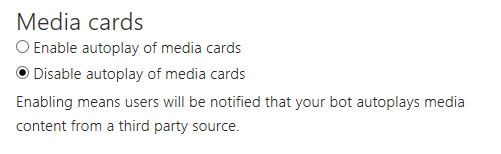
b. Media cards - to display rich media content like videos
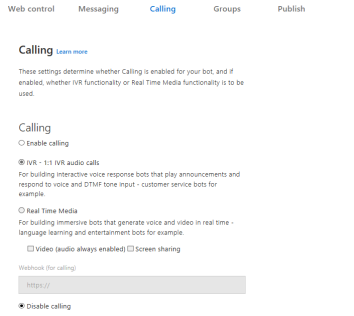
It is possible to call to the Bot and talk with it. This can be enabled in “Calling” tab:
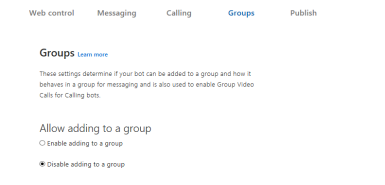
In the “Groups” tab you it is possible to determine if your bot can be added to a group and how it behaves in a group for messaging and is also used to enable Group Video Calls for Calling bots:
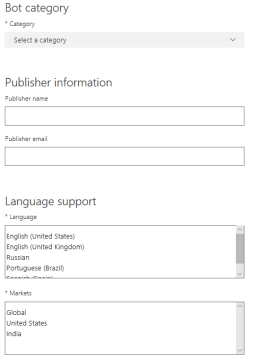
Last tab called “Publish” requires providing details connected with Bot before publication like name and privacy description:
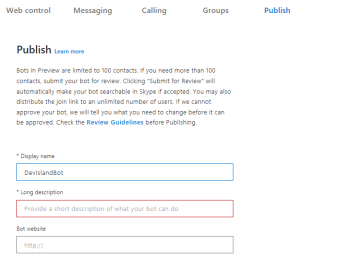
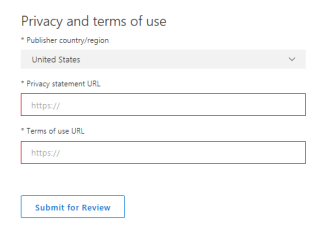
Bots in Preview are limited to 100 contacts. If you need more than 100 contacts, your have to submit your bot for review.
Once you click “Save” button you have to accept Terms of Service.
Skype should now be displayed as one of possible channels to communicate with Bot:
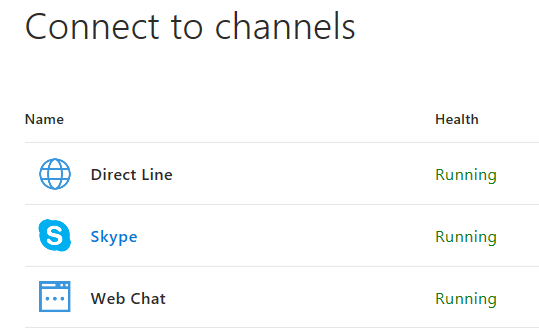
You can click on Skype channel, sign in with your Microsoft account and add the Bot to your contacts:
Wrapping up
That was the last part of Microsoft Bot Framework series. I hope that these three articles help you to start your journey with Microsoft Azure Bot Service.
If you would like to read more please refer to official documentation.