Cars Island Blazor Web App secured by the Azure AD B2C - part 10
Introduction
In my first article, I introduced you to Cars Island car rental on the Azure cloud. I created this fake project to present how to use different Microsoft Azure cloud services and how to their SDKs. I also presented what will be covered in the next articles. Here is the next article from the series where I would like to discuss how to integrate Blazor Web App with Azure Active Directory B2C identity service to enable user’s authentication. Before you continue, I recommend reading my second article from the series called Cars Island ASP .NET Core API secured by Azure AD B2C - part 2. In this article, I described how to secure ASP .NET Core Web API with Azure AD B2C. Below we will discuss how to secure Blazor Server Web App with Azure AD B2C, how to implement user authentication and how to access Web API with the access token.
In the Cars Island solution, Azure AD B2C is as an identity service to enable users authentication in the Cars Island Web Portal which is written using Blazor Server. Below I present solution architecture:

Cars Island project is available on my GitHub
Azure AD B2C instance and application registration
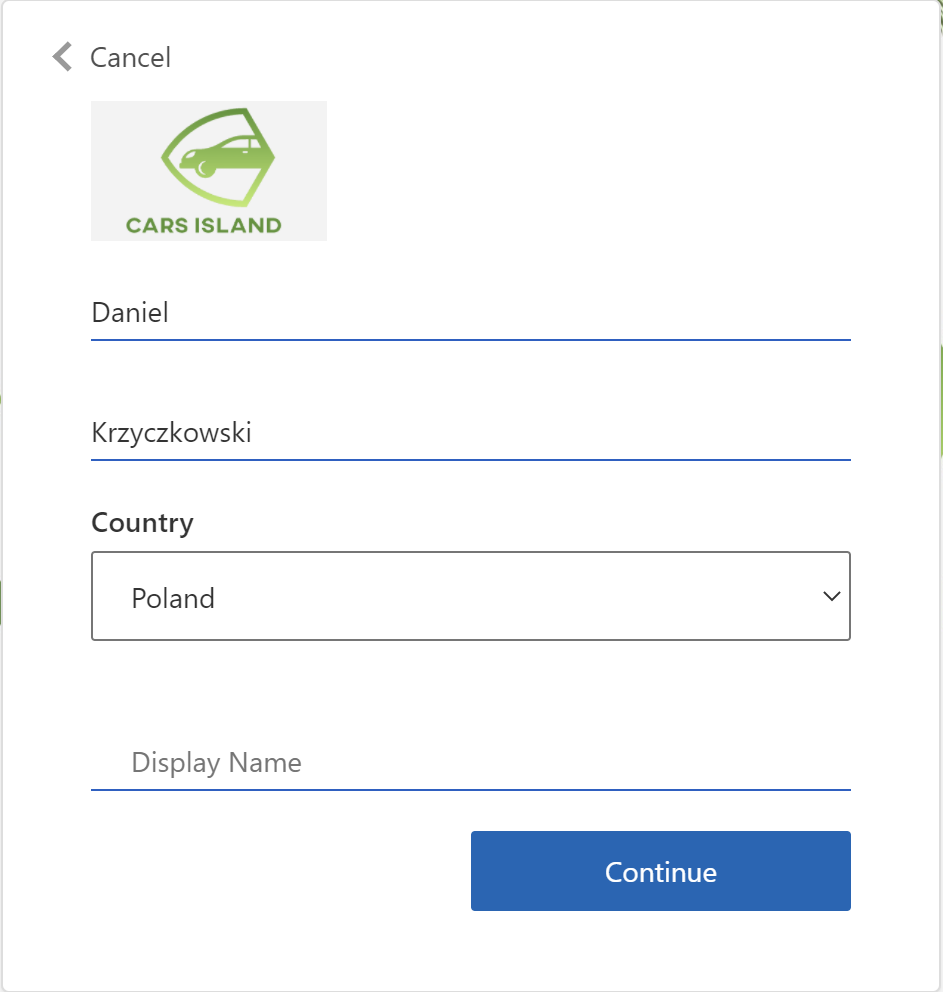
First of all, it is worth reminding the solution architecture. As you can see below, the Azure AD B2C service is used. As I mentioned in the previous article, Azure Active Directory B2C is an identity service in the Azure cloud that enables user authentication and management. It is used in Cars Island to authenticate users. Web portal and Web API applications are secured by Azure AD B2C. To make a new reservation for a specific car, the user has to login first. If you want to learn more about Azure AD B2C, I recommend checking the official documentation. In the Cars Island solution, I used custom policies and custom branding to adjust the look & feel of login, registration, password reset, and user profile pages.
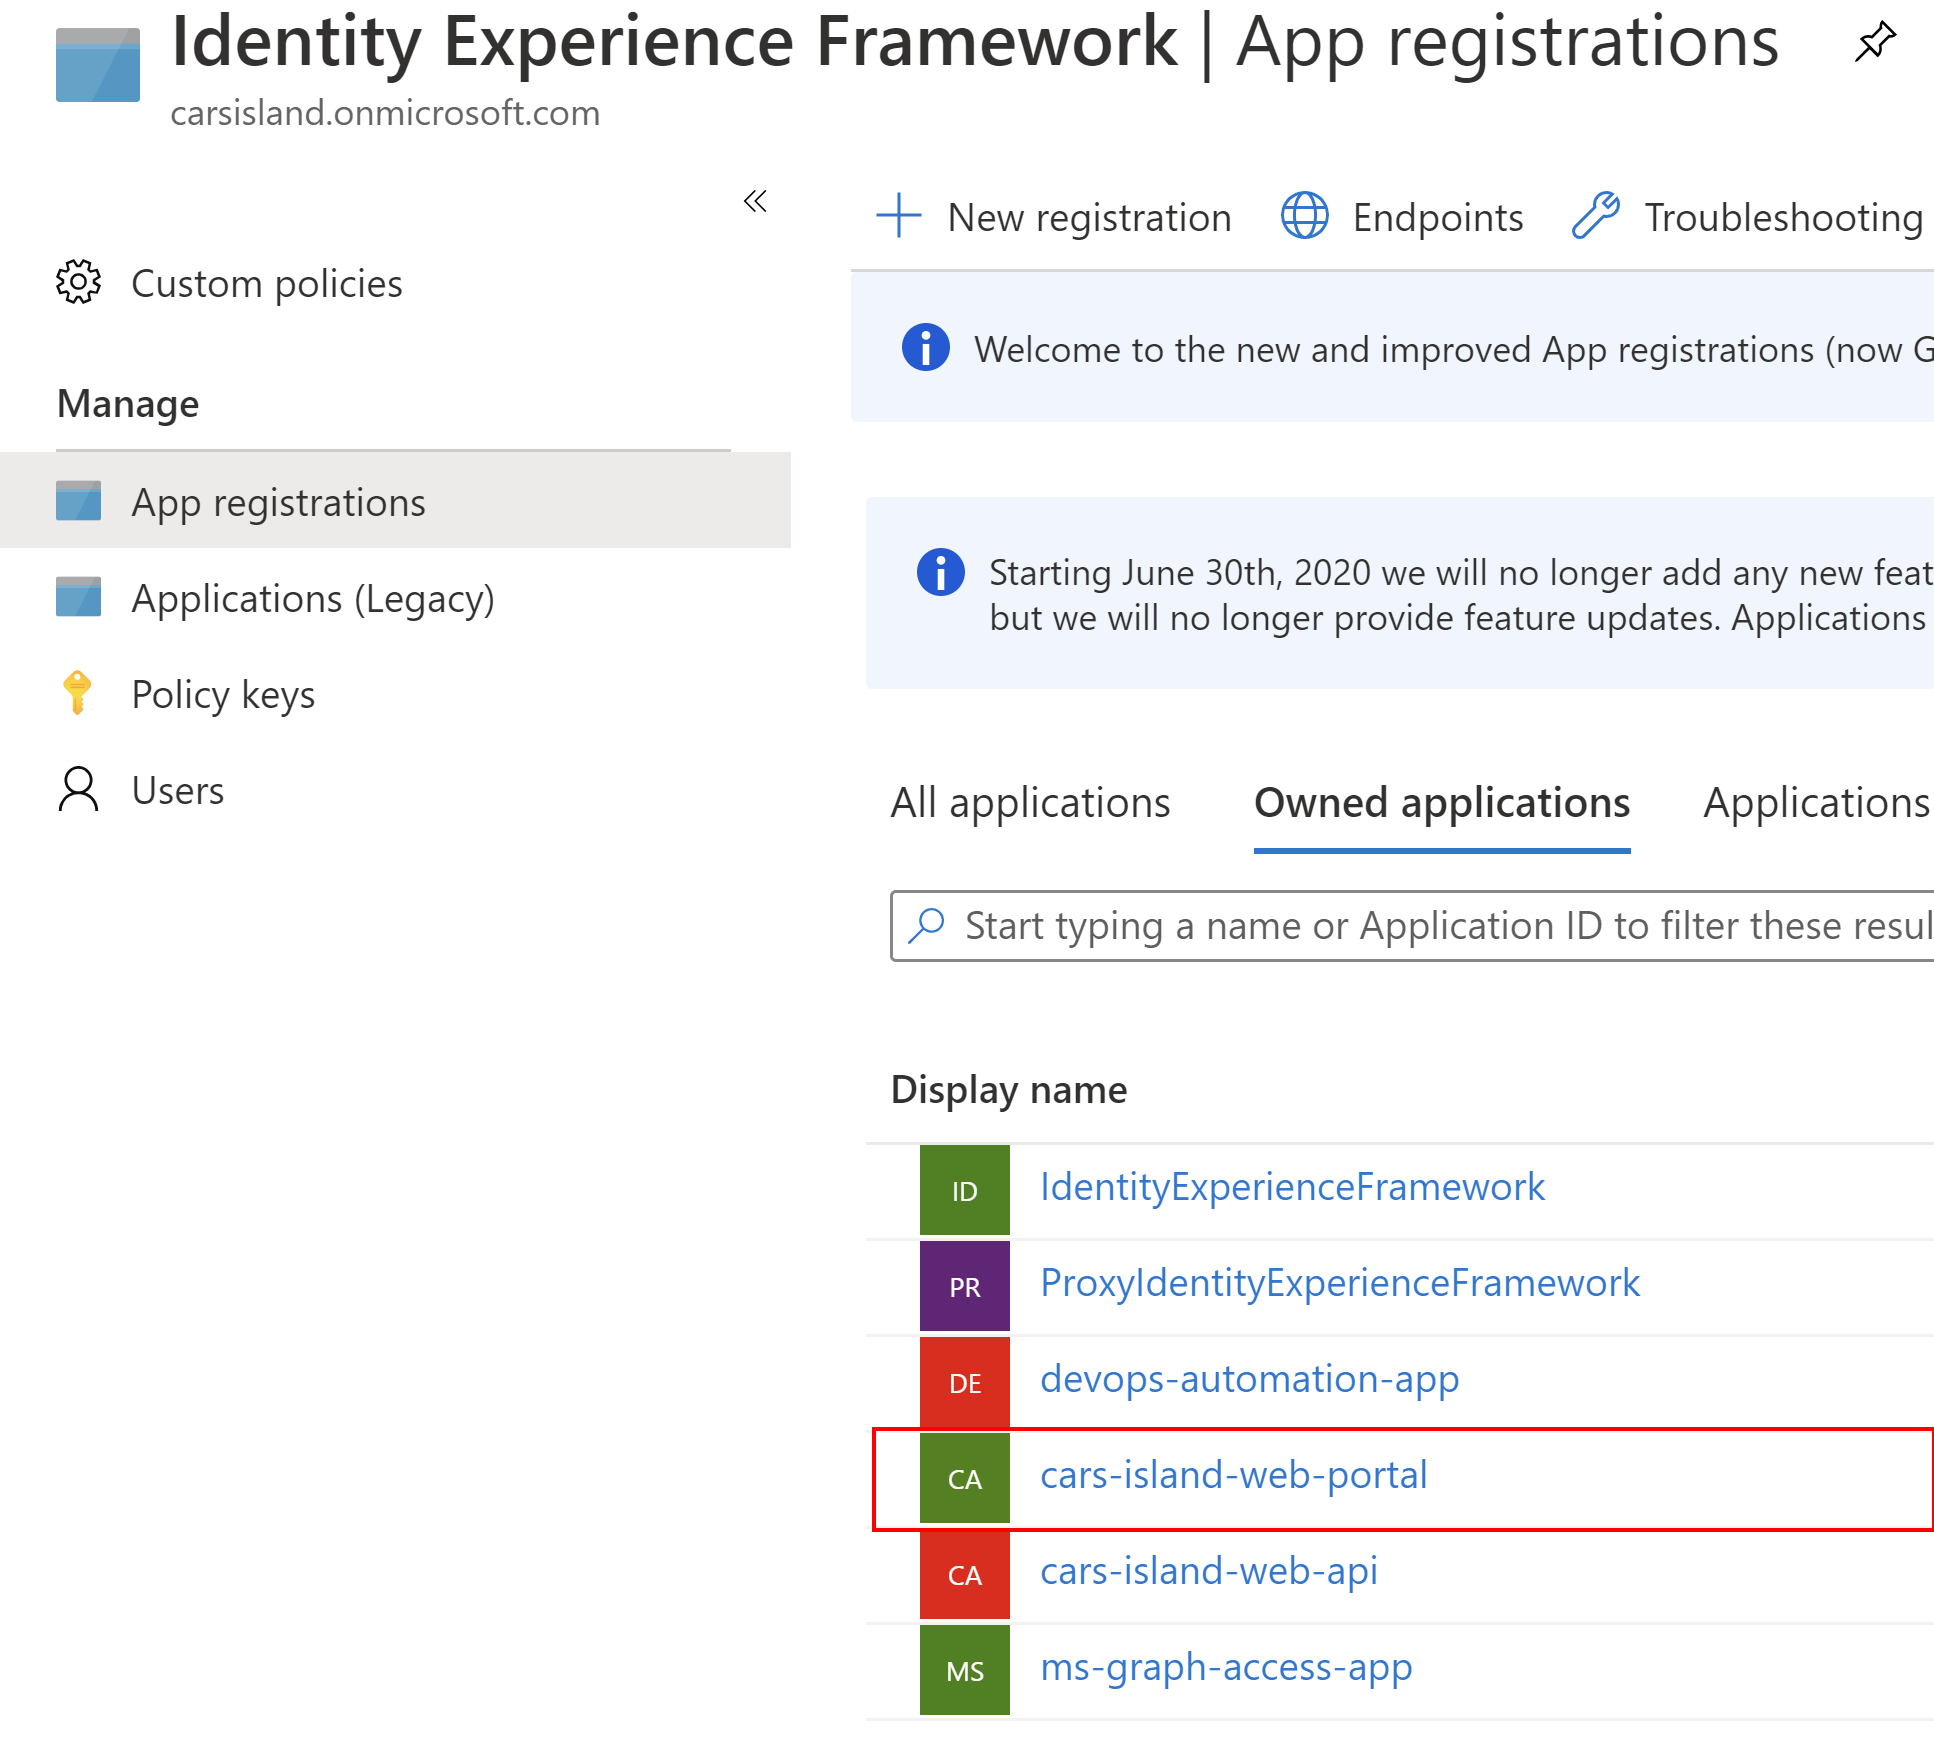
Cars Island Web Portal application registration in the Azure AD B2C
To secure Blazor Server application we have to register a new application in the Azure AD B2C directory first:
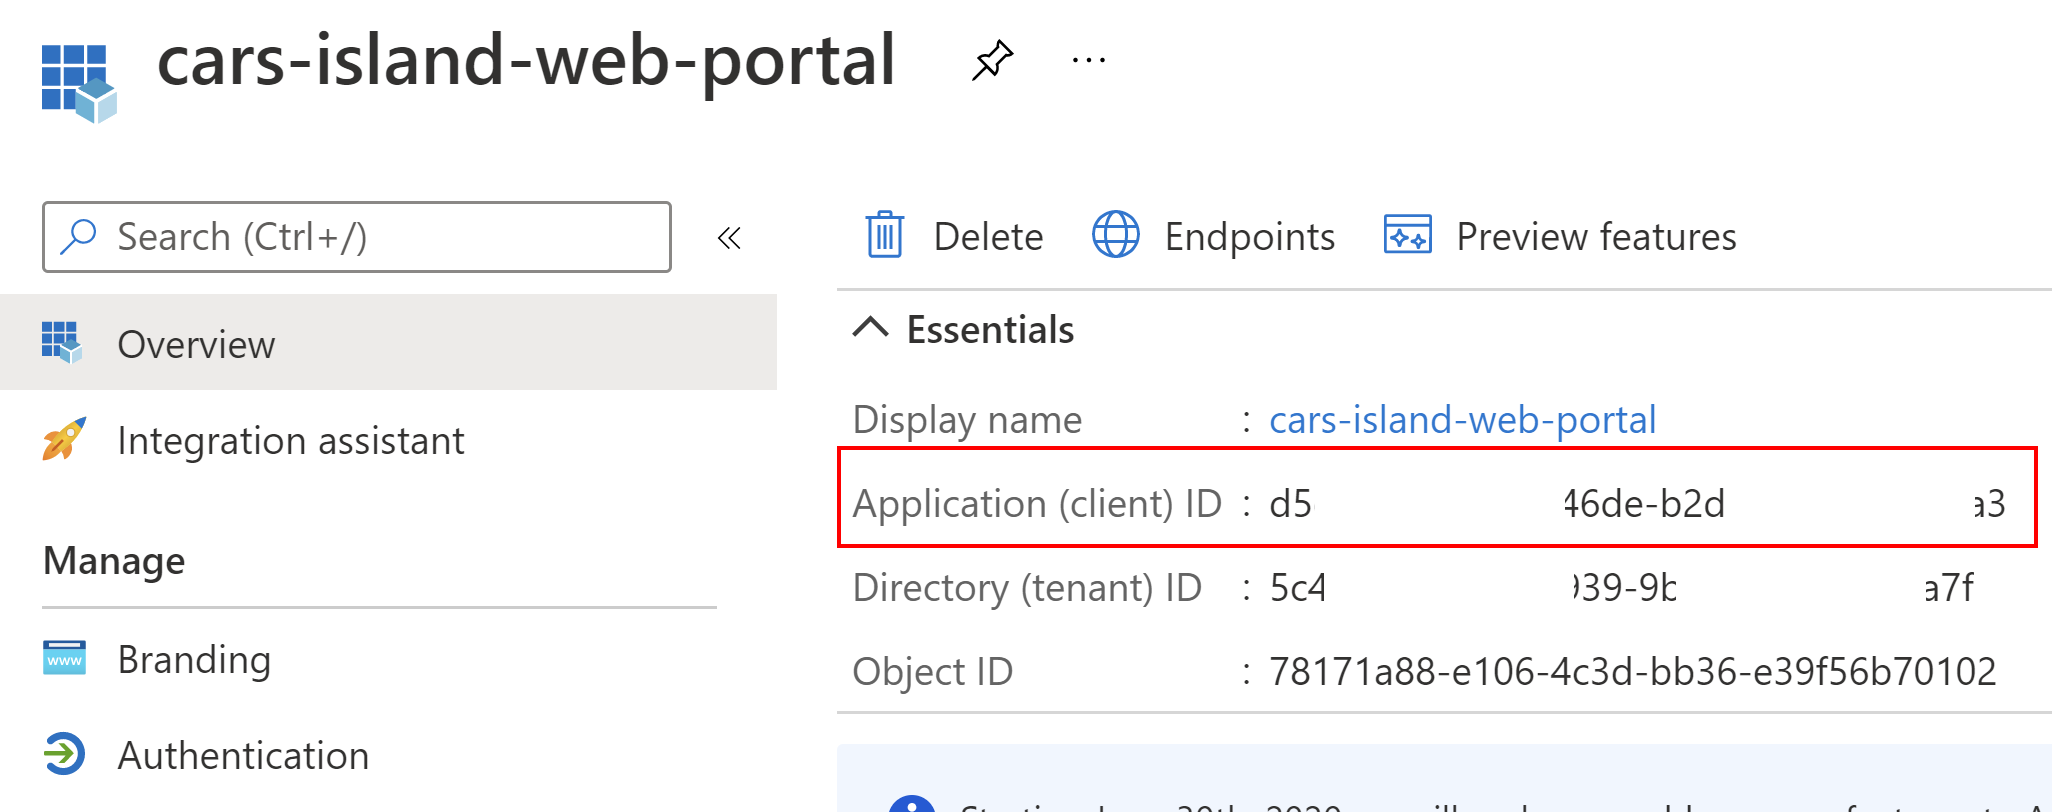
Once the application is created there is Application (client) ID value generated. It is used to uniquely identify the application in the Azure AD B2C tenant:
We have to also add information about the platform (application type). In this case we are talking about web application. Please note that we have to also define Redirect URIs where token can be returned once user is successfully authenticated:

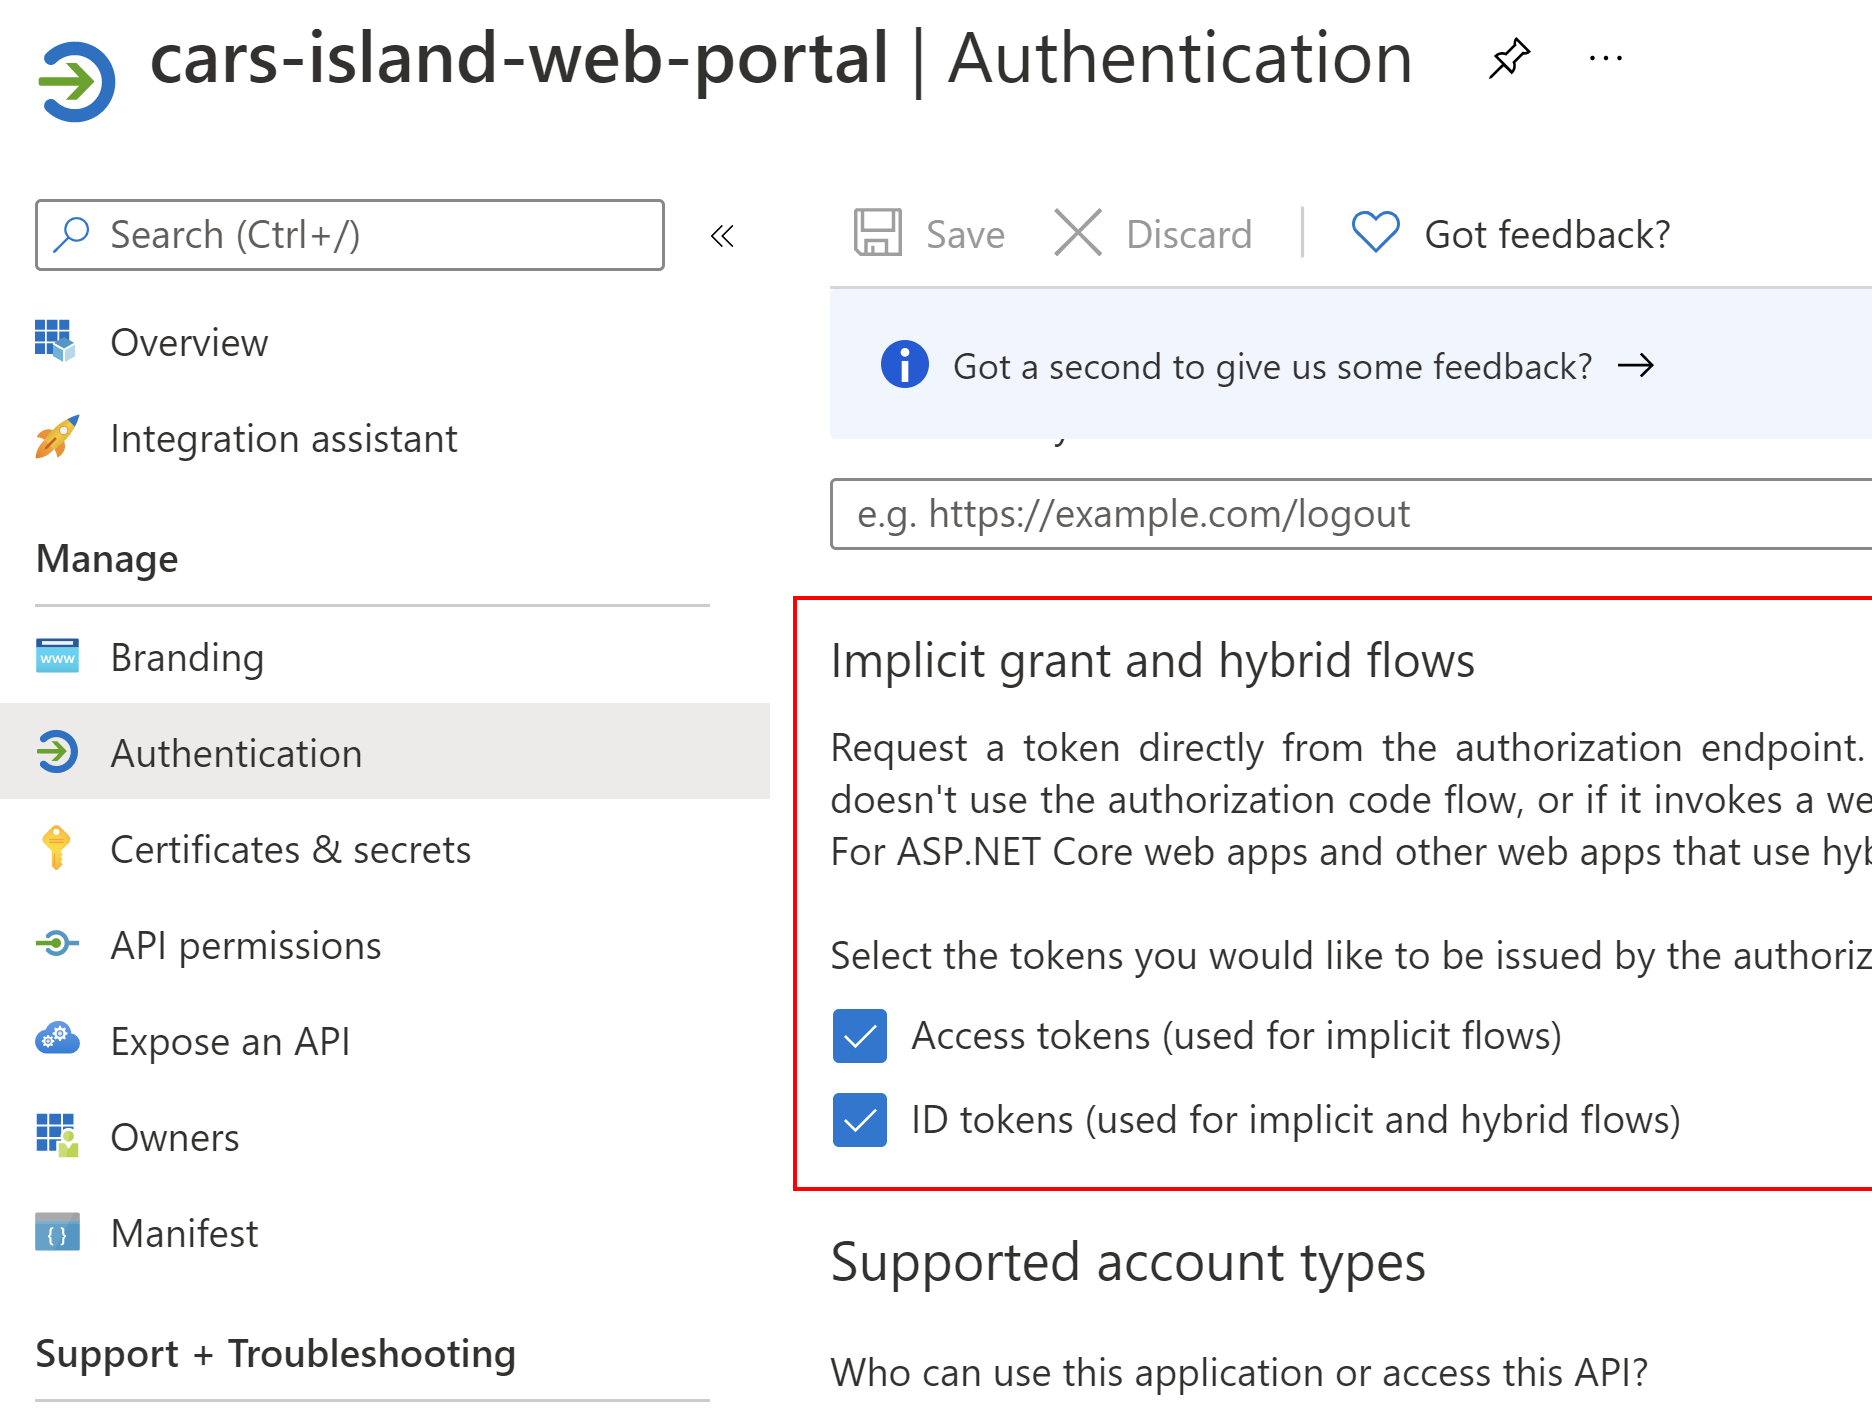
We have to also enable implicit flow (it is currently required to get access token from the Azure AD B2C and access edit profile policy):
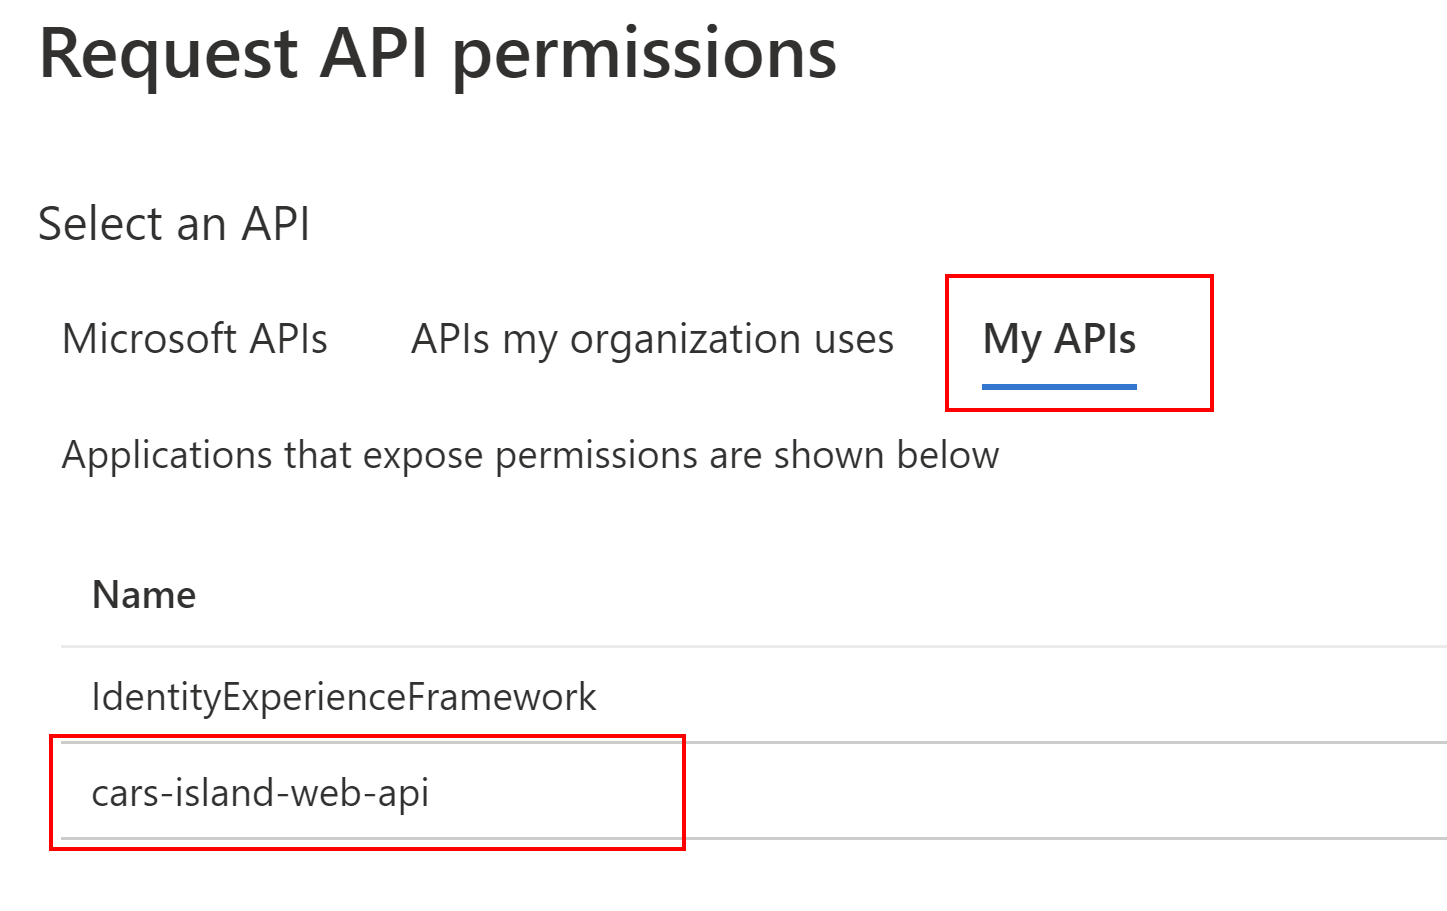
Then we have to enable access to the Cars Island Web API (I have registered another application for Web API, read more in the Cars Island ASP .NET Core API secured by Azure AD B2C - part 2). We need to add specific scope so once the user is authenticated, Azure AD B2C will return ID Token to identify the user and Access Token that can be used to call Cars Island Web API:
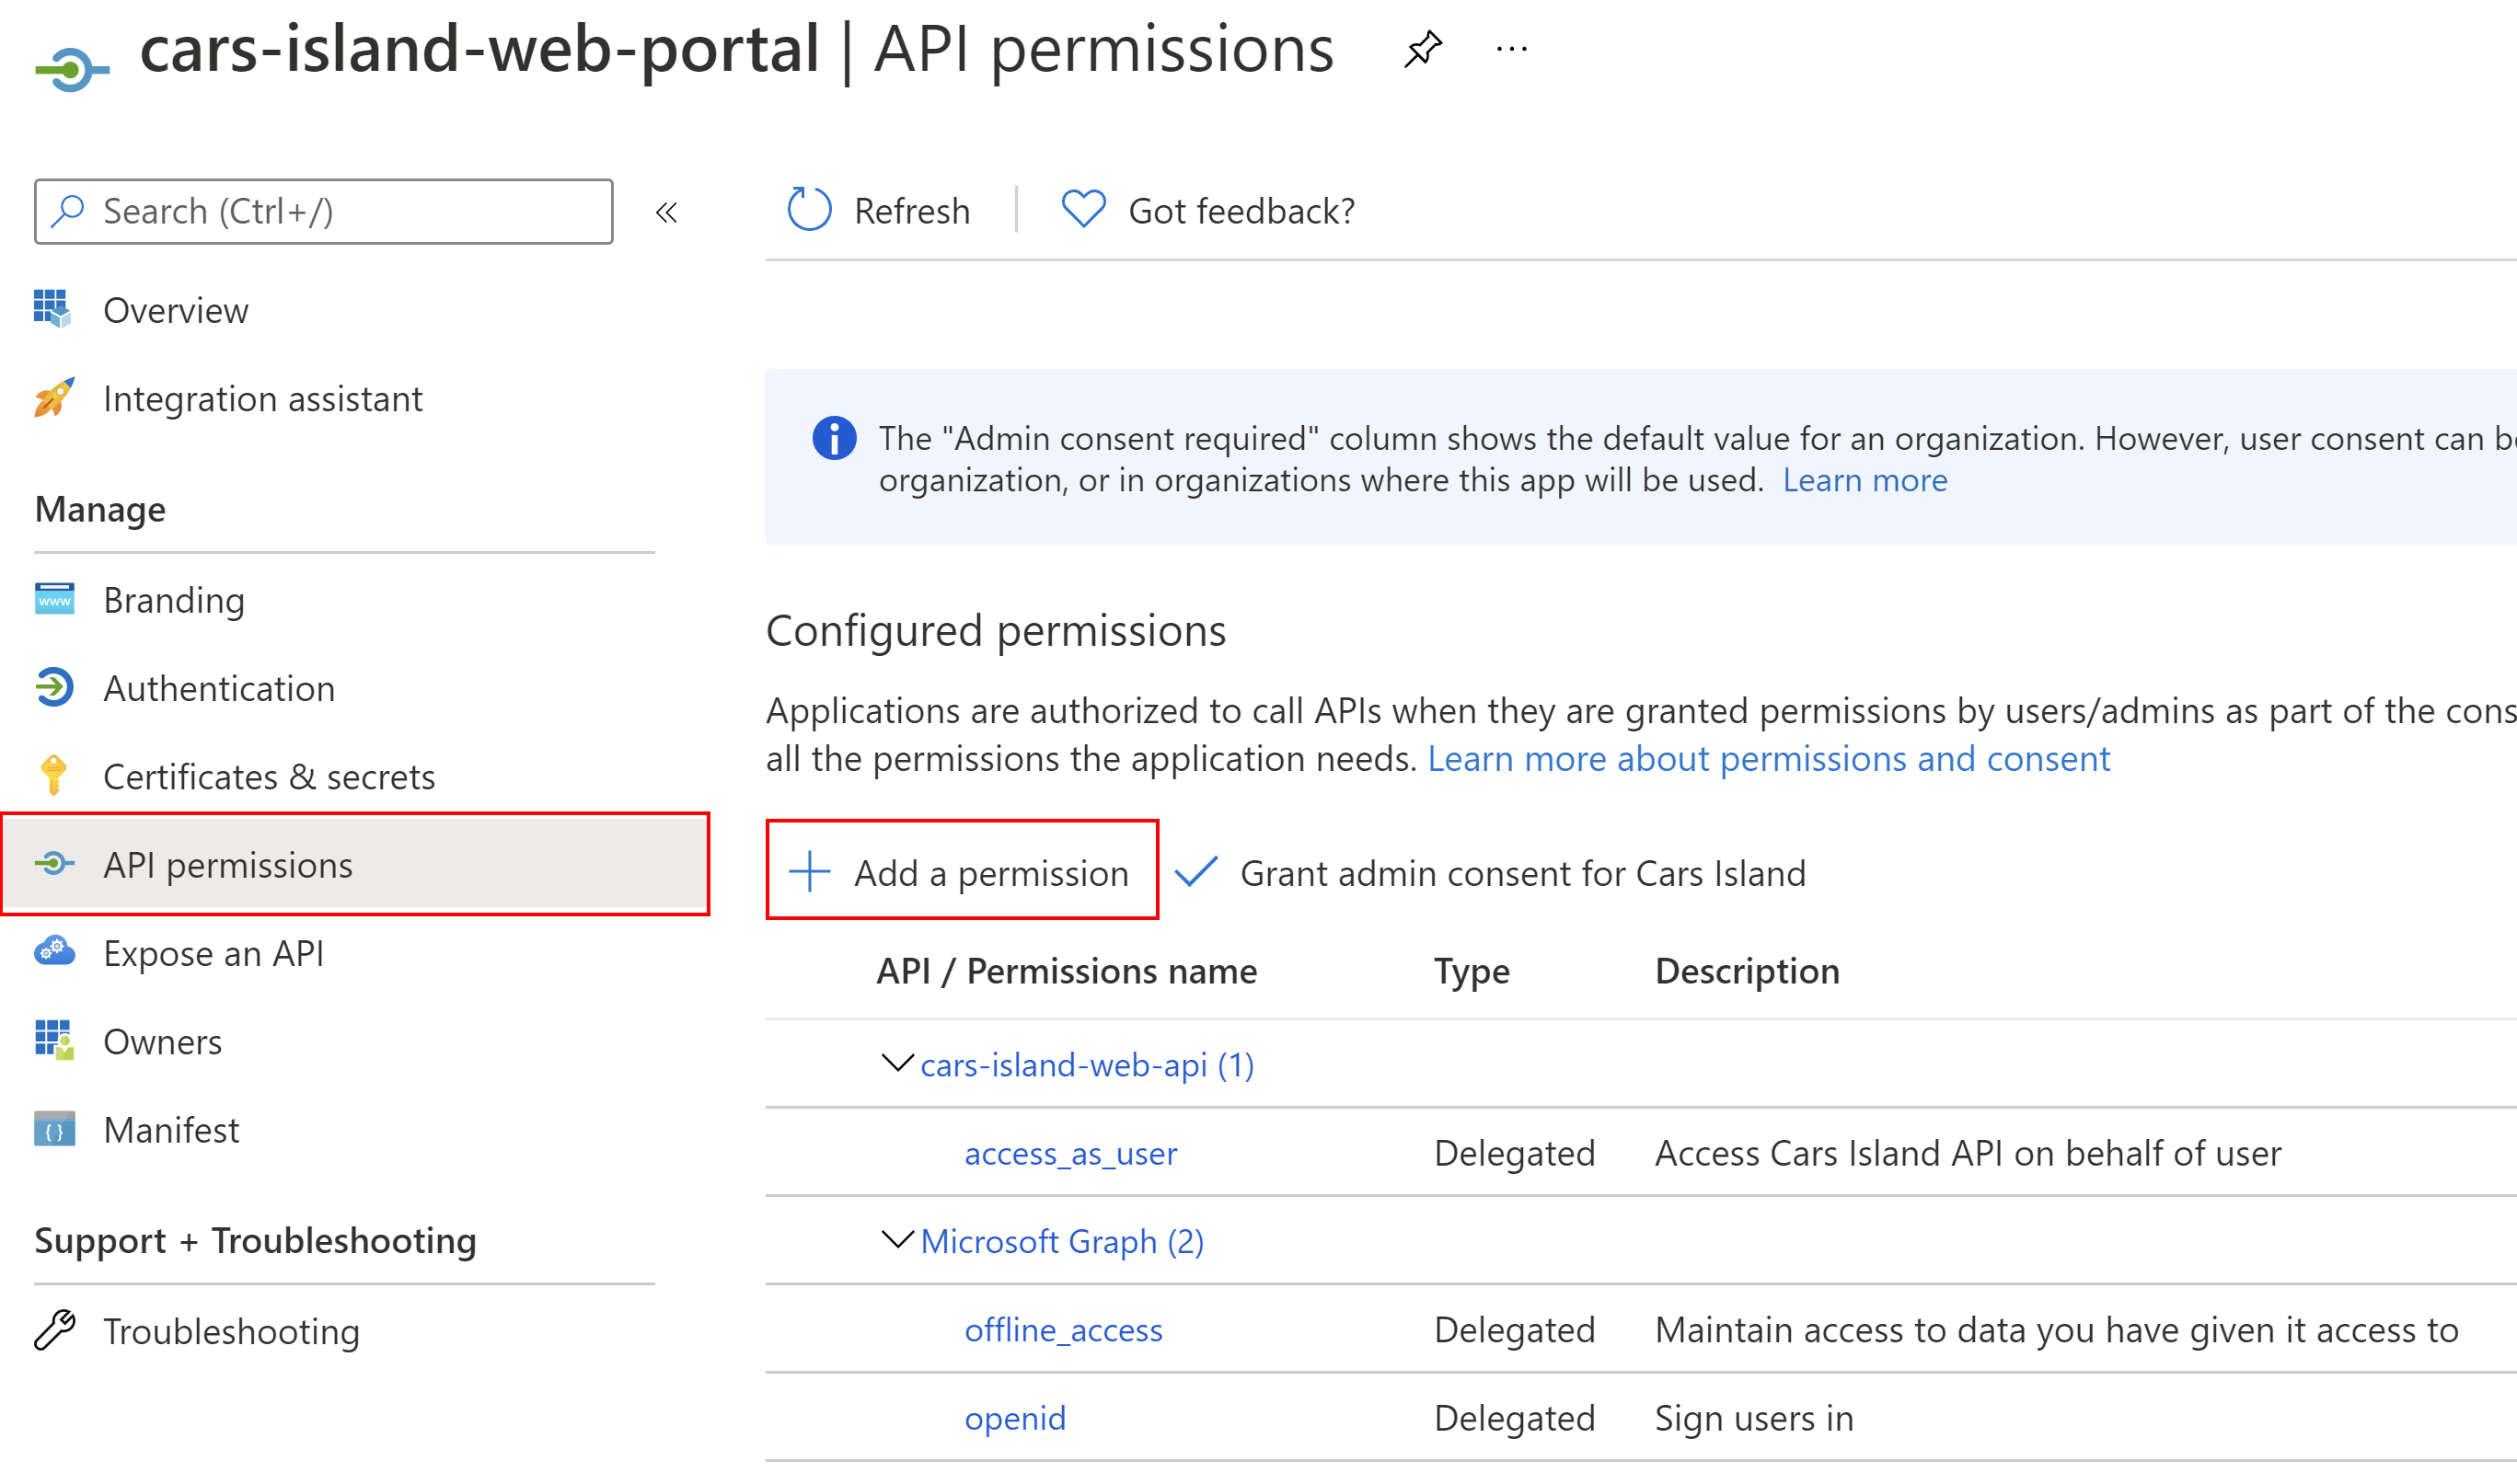
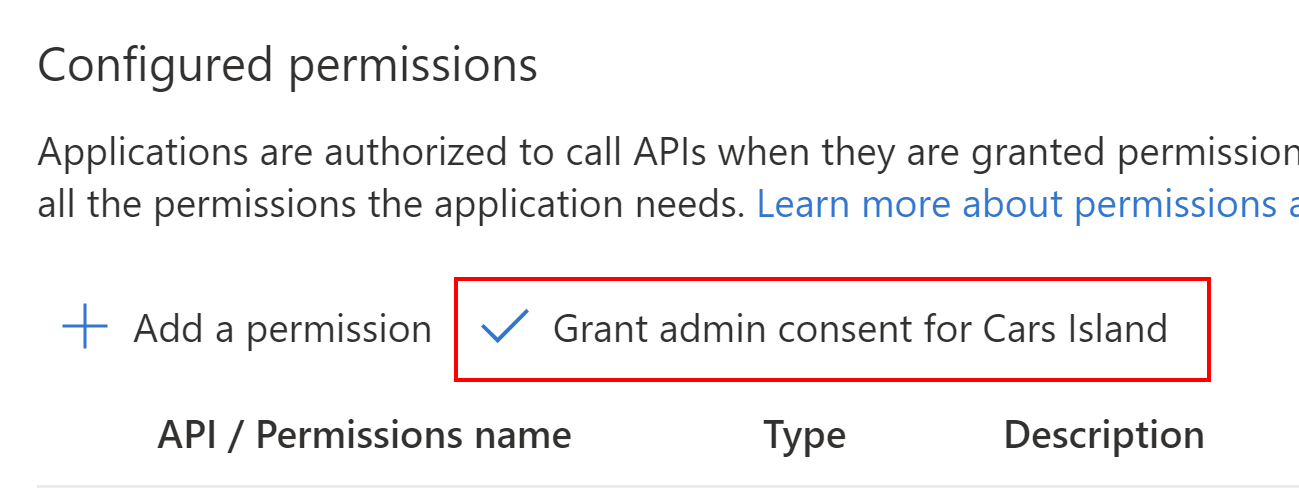
Once we add permission to access Cars Island Web API, we have to grant admin consent:
Last step is to create app secret. To do it, open Certificates & secrets section and generate new secret by clicking the + New client secret:

That’s it. Now we can move forward and see how integration with Azure AD B2C is implemented in the Blazor app source code.
Microsoft Identity Web library integration
First of all, it is worth mentioning that with a new library called Microsoft Identity Web it much easier to do it. This library provides classes and methods to simplify the process of securing the application with Azure Active Directory and Azure Active Directory B2C.
To secure Blazor Server application with Azure AD B2C, add Microsoft Identity Web NuGet package. Then, in the appsettings.json file include below section:
  "AzureAdB2C": {
    "Instance": "https://carsisland.b2clogin.com",
    "ClientId": "d5e45dbd-xxx-xxx",
    "ClientSecret": "xxx",
    "CallbackPath": "/signin-oidc",
    "Domain": "carsisland.onmicrosoft.com",
    "SignUpSignInPolicyId": "B2C_1A_SignUpOrSignin",
    "ResetPasswordPolicyId": "B2C_1A_PasswordReset",
    "EditProfilePolicyId": "B2C_1A_ProfileEdit"
  }
- Instance - URL of your Azure AD B2C instance, in my case this is https://carsisland.b2clogin.com
- ClientId - ID of the application we registered before in the Azure portal
- Domain - name of your Azure AD B2C tenant, in my case this is carsisland.onmicrosoft.com
- ClientSecret - the client secret we have generated in the Azure portal
- CallbackPath - endpoint where tokens should be returned after successful authentication
- SignUpSignInPolicyId - the name of the Azure AD B2C custom policy responsible for users authentication and registration
- ResetPasswordPolicyId - the name of the Azure AD B2C custom policy responsible for resetting a user’s password
- EditProfilePolicyId - the name of the Azure AD B2C custom policy responsible for changing user profile data
In the appsettings.json file we have to also include information about the Web API URL address and its scope:
  "CarsIslandApi": {
    "Url": "https://app-cars-island-api-dev.azurewebsites.net/",
    "Scope": "https://carsisland.onmicrosoft.com/50f00e2d-xxx-xxx/access_as_user"
  }
- Url - URL of the Cars Island Web API
- Scope - The scope that we added in the Azure AD B2C application management blade
Now in the Startup.cs file we have to add below lines in the ConfigureServices method:
            services.AddMicrosoftIdentityWebAppAuthentication(Configuration, "AzureAdB2C")
                    .EnableTokenAcquisitionToCallDownstreamApi(new string[] { Configuration["CarsIslandApi:Scope"] })
                    .AddInMemoryTokenCaches();
As you can see, AddMicrosoftIdentityWebAppAuthentication method will add a mechanism to enable user authentication with Azure AD B2C (using the configuration from the appsettings.json file). EnableTokenAcquisitionToCallDownstreamApi line is used to configure access token acquisition to call Cars Island Web API. As you can see, the configuration is taken from the appsettings.json file.
Last line, AddInMemoryTokenCaches, enables in-memory token cache serialization. This implementation is great in samples. It’s also good in production applications provided you don’t mind if the token cache is lost when the web app is restarted. You can read more about token serialization here.
Next we have to register HttpClient instance to be able to call Web API. Please note that API address is taken from the section in appsettings.json file:
            services.AddHttpClient<ICarsIslandApiService, CarsIslandApiService>(configureClient =>
            {
                configureClient.BaseAddress = new Uri(Configuration.GetSection("CarsIslandApi:Url").Value);
            })
            ...
HttpClient is intended to be instantiated once and reused throughout the life of an application, this is why I used AddHttpClient method. You can read more about this important aspect here.
The are also two additional lines:
            services.AddHttpContextAccessor();
            services.AddTransient<IIdentityService, IdentityService>();
Above are used to register IdentityService instance which uses IHttpContextAccessor interface to check if user is authenticated or not:
    public class IdentityService : IIdentityService
    {
        private readonly IHttpContextAccessor _context;

        public IdentityService(IHttpContextAccessor context)
        {
            _context = context ?? throw new ArgumentNullException(nameof(context));
        }

        public bool IsUserAuthenticated()
        {
            var isUserAuthenticated = _context.HttpContext.User.Identity.IsAuthenticated;
            return isUserAuthenticated;
        }
    }
Now in the Configure method in the Startup.cs file:
            app.UseAuthentication();
            app.UseAuthorization();
The above lines ensure that the app attempts to parse and validate tokens on incoming requests and any request attempting to access a protected resource without proper credentials fails.
Calling Web API with Access Token
To call Web API with access token returned from the Azure AD B2C, we have to use ITokenAcquisition interface provided by Microsoft Identity Web library. With this interface we can call Azure AD B2C to obtain the access token required by Web API to make a new car reservation:
        private async Task GetAndAddApiAccessTokenToAuthorizationHeaderAsync()
        {
            string[] scopes = new[] { _configuration["CarsIslandApi:Scope"] };
            string accessToken = await _tokenAcquisition.GetAccessTokenForUserAsync(scopes);
            _httpClient.DefaultRequestHeaders.Authorization = new AuthenticationHeaderValue("Bearer", accessToken);
        }
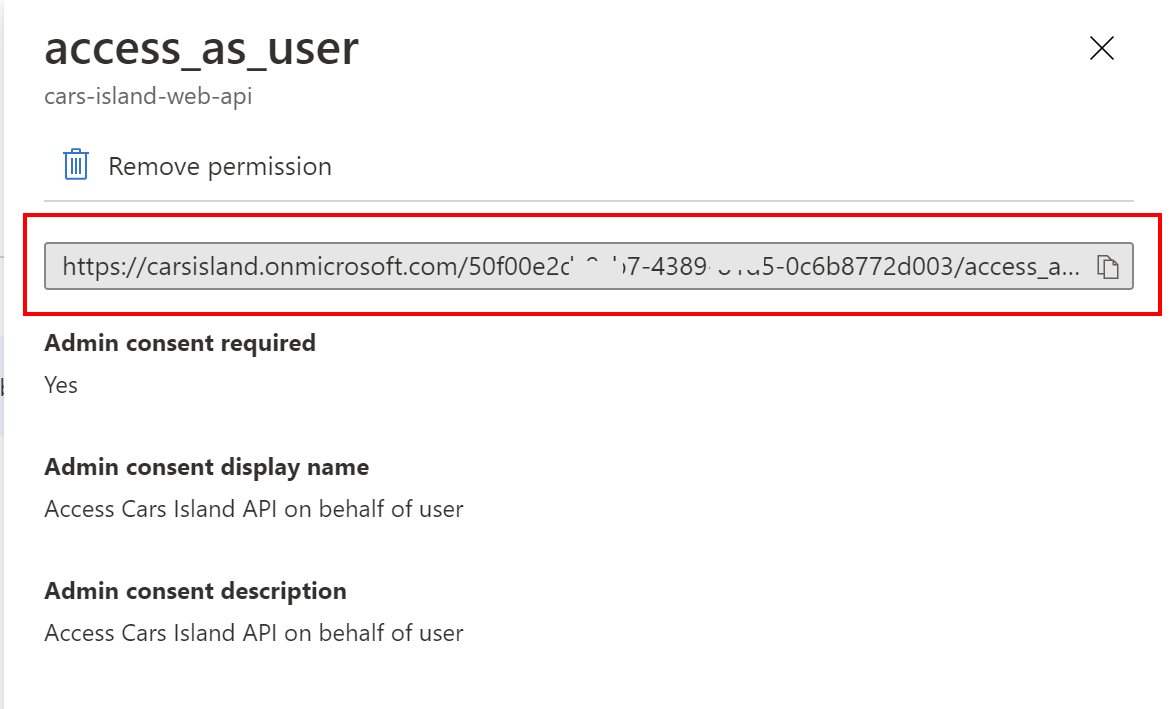
As you can see we have to use GetAccessTokenForUserAsync method, where we pass the scope (the same scope that was displayed from the Azure AD B2C portal) - just to remind:
Before we call car reservation endpoint, we have to get the access token. If there is already an access token in the cache, it will be used. If there is no access token, new one will be issued by the Azure AD B2C:
        public async Task<OperationResponse> CreateNewCarReservationAsync(CarReservation carReservation)
        {
            await GetAndAddApiAccessTokenToAuthorizationHeaderAsync();
            var response = await _httpClient.PostAsJson("api/carreservation", carReservation);

            ...
        }
Authenticated user verification
To make a new reservation, user has to sign in first:
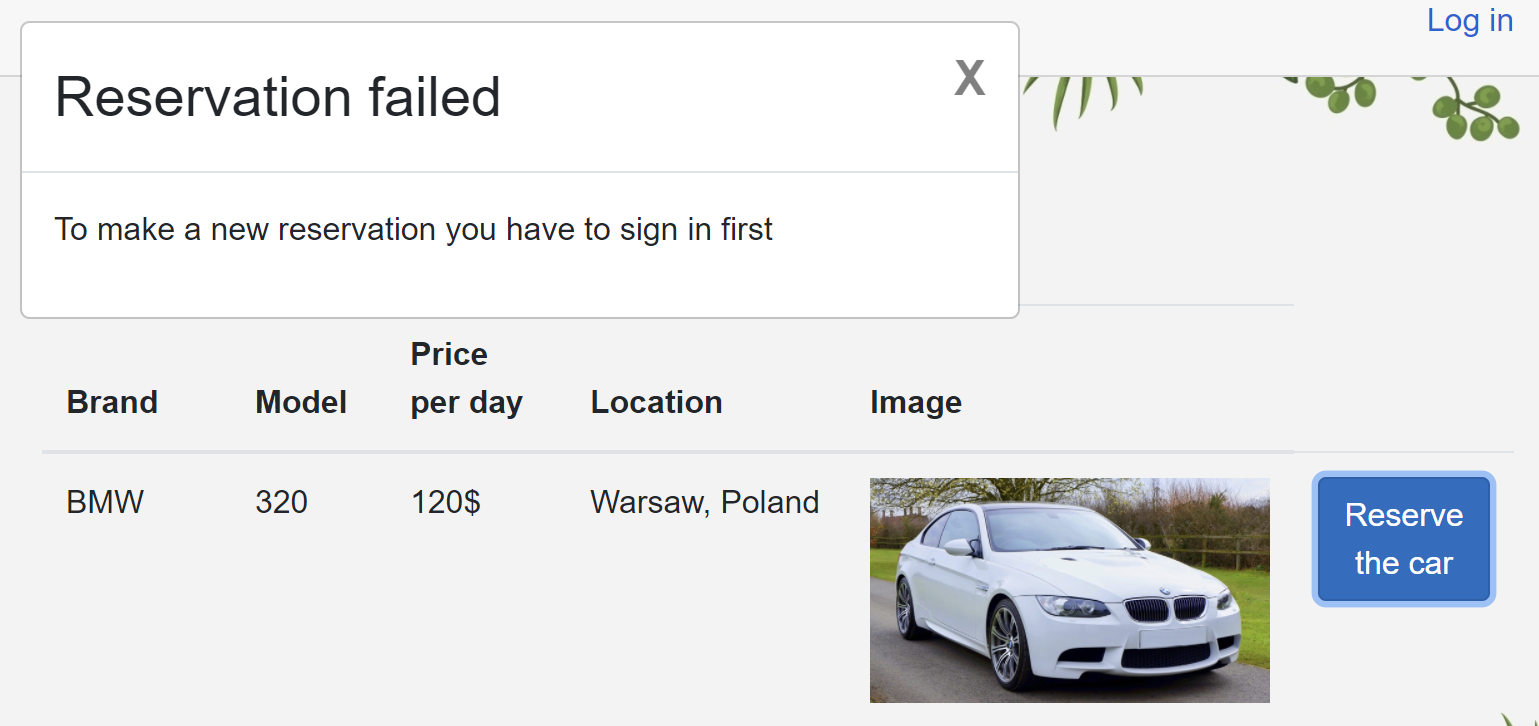
This is the place where IdentityService is used:
@if (ShowNewReservationPopup)
{
    if (IdentityService.IsUserAuthenticated())
    {
        <div class="modal" tabindex="-1" style="display:block" role="dialog">
            <div class="modal-dialog">
                <div class="modal-content">
                    <div class="modal-header">
                        <h3 class="modal-title">New car reservation</h3>
                        <button type="button" class="close"
                                @onclick="ClosePopup">
                            <span aria-hidden="true">X</span>
                        </button>
                    </div>
                    <div class="modal-body">
                        <DateRangePicker class="form-control form-control-sm" placeholder="Select reservation dates..." @bind-StartDate="FromDate" @bind-EndDate="ToDate" />
                        <br />
                        <button class="btn btn-primary"
                                @onclick="CreateReservationAsync">
                            Save
                        </button>
                    </div>
                </div>
            </div>
        </div>
    }

    else
    {
        <div class="modal" tabindex="-1" style="display:block" role="dialog">
            <div class="modal-dialog">
                <div class="modal-content">
                    <div class="modal-header">
                        <h3 class="modal-title">Reservation failed</h3>
                        <button type="button" class="close"
                                @onclick="ClosePopup">
                            <span aria-hidden="true">X</span>
                        </button>
                    </div>
                    <div class="modal-body">
                        <p>To make a new reservation you have to sign in first</p>
                    </div>
                </div>
            </div>
        </div>
    }
}
You can find the full implementation of this page on my GitHub.
Once user is authenticated, the name is displayed with greeting in the top-right corner. If user clicks the link, edit profile policy is displayed from the Azure AD B2C:
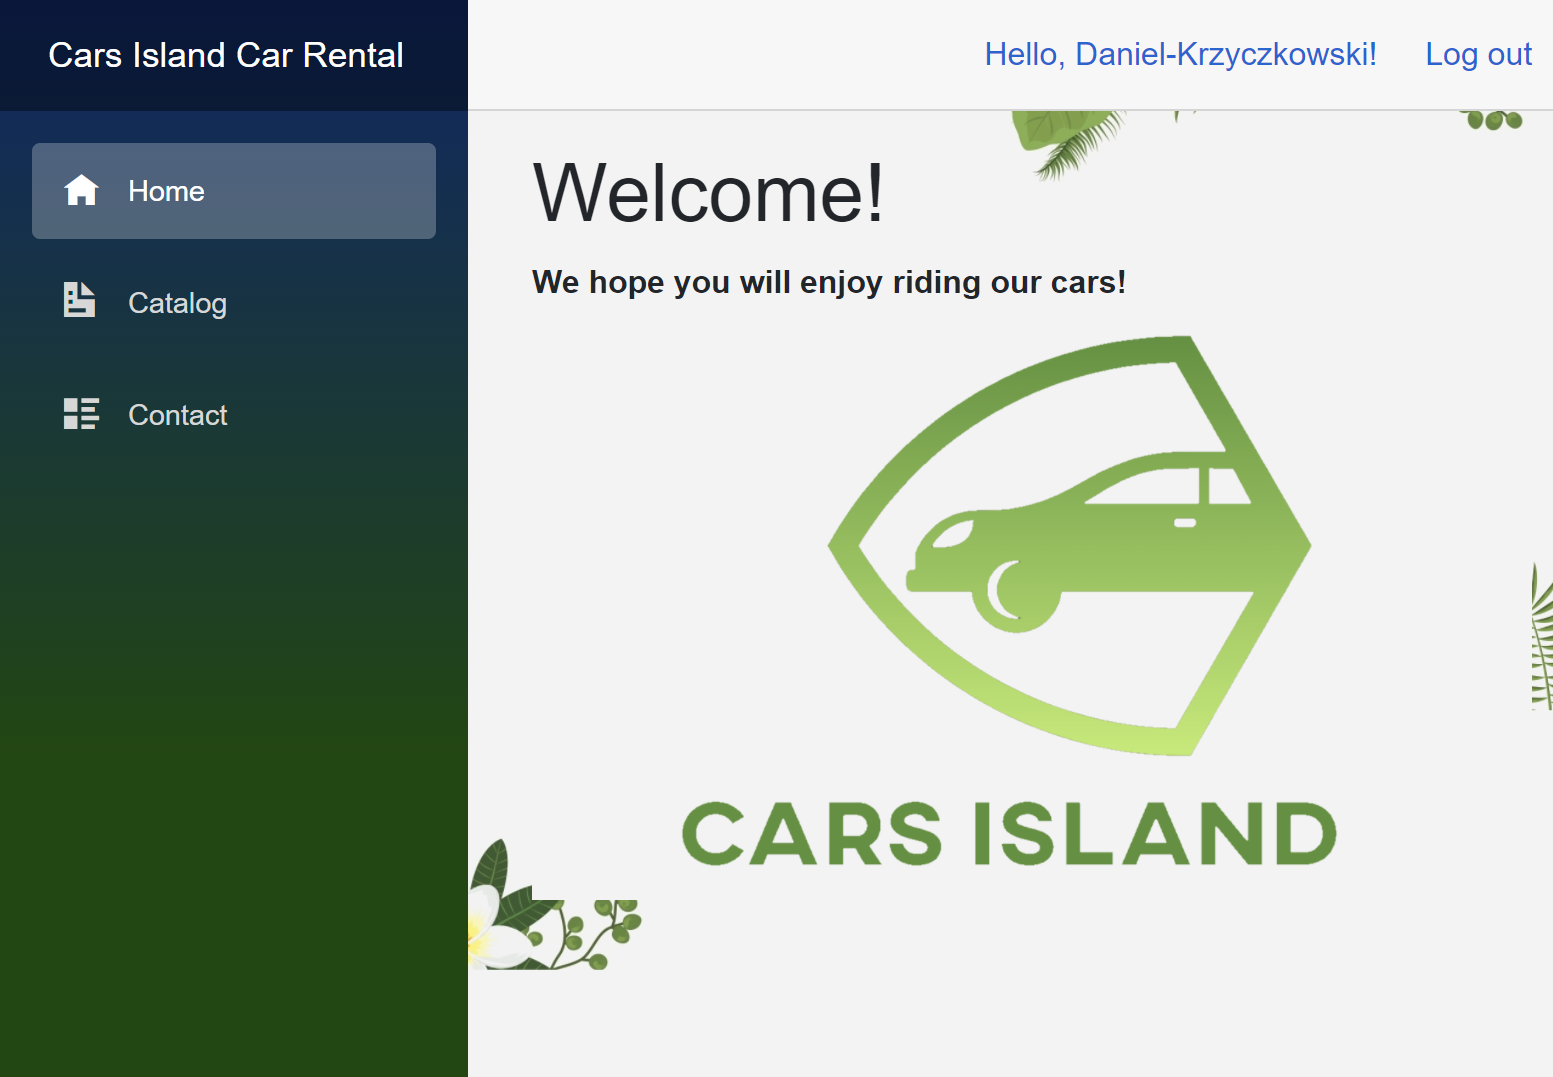
You can also ask how this login button and username is displayed on the navigation bar. I created shared Razor view called LoginDisplay:
@using Microsoft.Identity.Web
@using Microsoft.Extensions.Options
@inject IOptionsMonitor<MicrosoftIdentityOptions> microsoftIdentityOptions

<AuthorizeView>
    <Authorized>
        @if (canEditProfile)
        {
            <a href="MicrosoftIdentity/Account/EditProfile">Hello, @context.User.Claims.First(c => c.Type == "displayName").Value!</a>
        }
        else
        {
            <text>Hello, @context.User.Claims.First(c => c.Type == "displayName").Value!</text>
        }
        <a href="MicrosoftIdentity/Account/SignOut">Log out</a>
    </Authorized>
    <NotAuthorized>
        <a href="MicrosoftIdentity/Account/SignIn">Log in</a>
    </NotAuthorized>
</AuthorizeView>

@code {
    private bool canEditProfile;

    protected override void OnInitialized()
    {
        var options = microsoftIdentityOptions.CurrentValue;
        canEditProfile = !string.IsNullOrEmpty(options.EditProfilePolicyId);
    }
}
It is injected in the MainLayout file:
@inherits LayoutComponentBase

<div class="sidebar">
    <NavMenu />
</div>

<div class="main">
    <div class="top-row px-4">
        <LoginDisplay />
    </div>

    <div class="content px-4">
        @Body
    </div>
</div>
Summary
In this article, I described how to set up user authentication and how to call Web API with the access token in the Blazor Server web application. Source code of the Cars Island solution is available on my GitHub so you can see all implementation details. The scenario I presented above is adjusted to support calling multiple APIs. You can have multiple APIs registered in the Azure AD B2C and then you have to obtain access tokens to call them. With above solution, you can do it. Just add more scopes and then use ITokenAcquisition interface to obtain an access token from the AD B2C.